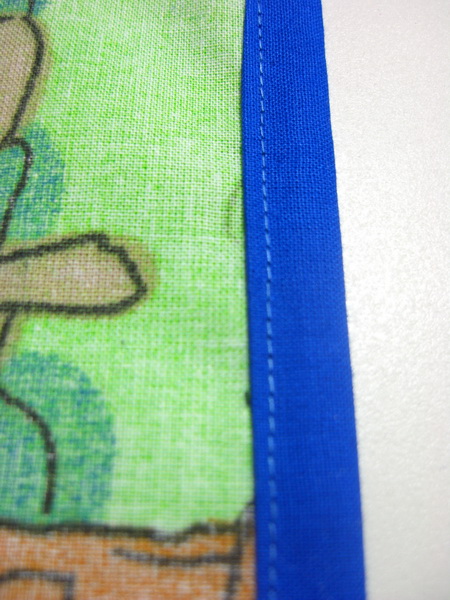
The binding can be cut either from ribbing or from the same knit as the rest of the garment. The most suitable knits are those that do not curl. E.g. Rib knit, Interlock, Cotton.
1. Measure the length of the edge to be finished (=Ycm) on the pattern piece.
2. Determine the length of the binding.
a) if you use actual garment (stretch 20-30%), the length of binding is = 0,85 x length of the edge to be finished (Ycm)
b) if you use rib knit (stretch 40-50%), the length of binding is = 0,70 x length of the edge to be finished (Ycm)
c) if you use cotton, the length of binding is = 1,05 x length of the edge to be finished (Ycm)
Allway cut 5-6 cm more, because the elasticity of different knits tend to vary.
3. Cut the binding in the width of 4cm
4. Apply the binding
a) Stitch one edge of binding to garments edge, rights sides together. Use straigth stitch on a regular sewing machine (or alternatively stitch on a serger)
b) Fold the other edge of binding over to wrong side of garment's edge and topstitch garment with:
1) Twin needle (from right side close to the edge)
2) Straight stitch (from right side close to the edge)
3) Application stitch (from right side close to the edge) - i normally use nr. 17 or nr.15 (see picture below)
extra 5. If you sew neckline of a T-shirt, stretch both the neck edge and the binding as you sew in order to produce an elastic seam.


Ingen kommentarer:
Send en kommentar